Yesterday, we put up our Christmas tree, during which I made a timelapse video.
Christmas Tree 2008 Timelapse from Michael Pusateri on Vimeo.
Yesterday, we put up our Christmas tree, during which I made a timelapse video.
I was tagged earlier this week by Sean Bonner with the 666 Photo Meme. With this meme, you go to the sixth page of your Flickr stream, post the sixth photo, and choose six more people to be tagged.
Here is the requisite photo:

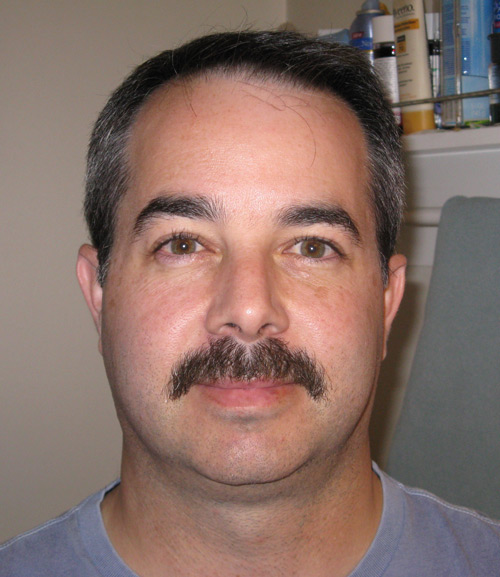
Movember is over and the mustache is gone. Thanks to the help of everyone, we were able to raise $1,242 for Prostate Cancer Research. You can donate for a few more days if you want at my MoSpace.
Here is the final photo of the mustache before removal.
The virtual private server I use to host this and other sites was hacked again. I’m still not sure how they are getting in, I assume its a vulnerability in some software I’m using.
Please pardon the dust while I do some work on the back end to move things around and do some long overdue upgrades.
I wrote previously about growing a mustache for charity and I have been overwhelmed with the support.
I’d like to thank Miles, Knob, Drew, Micah, Charles, William, Mom & Dad, Robert, Garen, Laura, Pat, and Mr. P.
Special thanks go out to Little Kenny, Rich, Brian, Brad, and MK for their large donations.
If you would like to help, you can visit my MoSpace here and donate. The money goes to the Prostate Cancer Foundation, a non-profit (meaning tax deductible!) organization.
My co-workers have had to see my mustache all month and were very supportive yesterday when they all showed their support! For those that don’t know me, I’m the guy in the tie…

I was in McDonalds waiting to order my coffee when I pulled out my iPhone to check the internets. A wifi hotspot popped up and this is what I saw:


Two weekends ago I went up to Runyon Canyon with family to see Los Angeles. It was the weekend of the fires in Sylmar and the Triangle Complex fire near Chino.
From the top of the canyon you can see the entire LA basin from the Ocean to Downtown to Hollywood to the San Fernando Valley to the Westside.
I took photos and made them into a Quicktime VR so you can pan around and zoom in and out.
Thanks to Sean & Tara, the Twitluvahs for showing me the spot.
Over the last few weeks, I’ve picked up a few random sodas. Finally I gave them all a test.
First up was the pair of sodas based on ice cream floats.


Most of the time, Cruftbox doesn’t ask much from you, the Loyal Cruftbox Readers, but today I am.
This month is Movember, a month where I am growing a mustache to help raise money for Prostate Cancer research. Just last month, I had the opportunity to have my prostate tested during my yearly physical.
In Movember, men grow mustaches to help raise money and awareness about Prostate Cancer, a major problem for men. All donations during Movember go to the Prostate Cancer Foundation, a non-profit (meaning tax deductible!) organization.
You can visit my MoSpace here.
I know these aren’t the easiest financial times for anyone, but I am asking you to donate a little money to help. Every little bit helps. I’ve have been writing Cruftbox since January 2000, that’s almost 9 years of Cruft for your to peruse. Donating $9 if you enjoy Cruftbox and my fine new mustache would be fantastic. Of course, feel free to donate more if you want!
The donation page is here. Please consider making a small donation now.
Here are some photos of the progress of the facial hair.


On Friday, the server I use to host web sites was hacked. It took the better part of a day to restore the server from scratch.
Sorry for dropping off the grid for a bit.
Please take this as another reminder to backup your data, online and at home.