A quick hive inspection to check on if the new queens are producing larva.
Category: YouTube
Waxing plastic foundations
Tips for new beekeepers – How to wax plastic foundations
DIY bee vacuum
How I made a DIY bee vacuum from a couple 5 gallon buckets, hardware cloth, and a shop vac hose replacement set.
Honey Harvest – July 2026
Harvested 58 pounds of honey.
After a spring when I couldn’t do a lot of hive management, I feel lucky.
2025 Hugo & Nebula novel finalists
I’ve read all the Hugo and Nebula nominees for this year. That was 11 different books since there’s some overlap
Rather than going through each one making a long video, I’ll just give you the highlights.
Quick inspection of the Pink & Blue beehives
The hives are ready for harvest
orbis – another DIY smart home controller
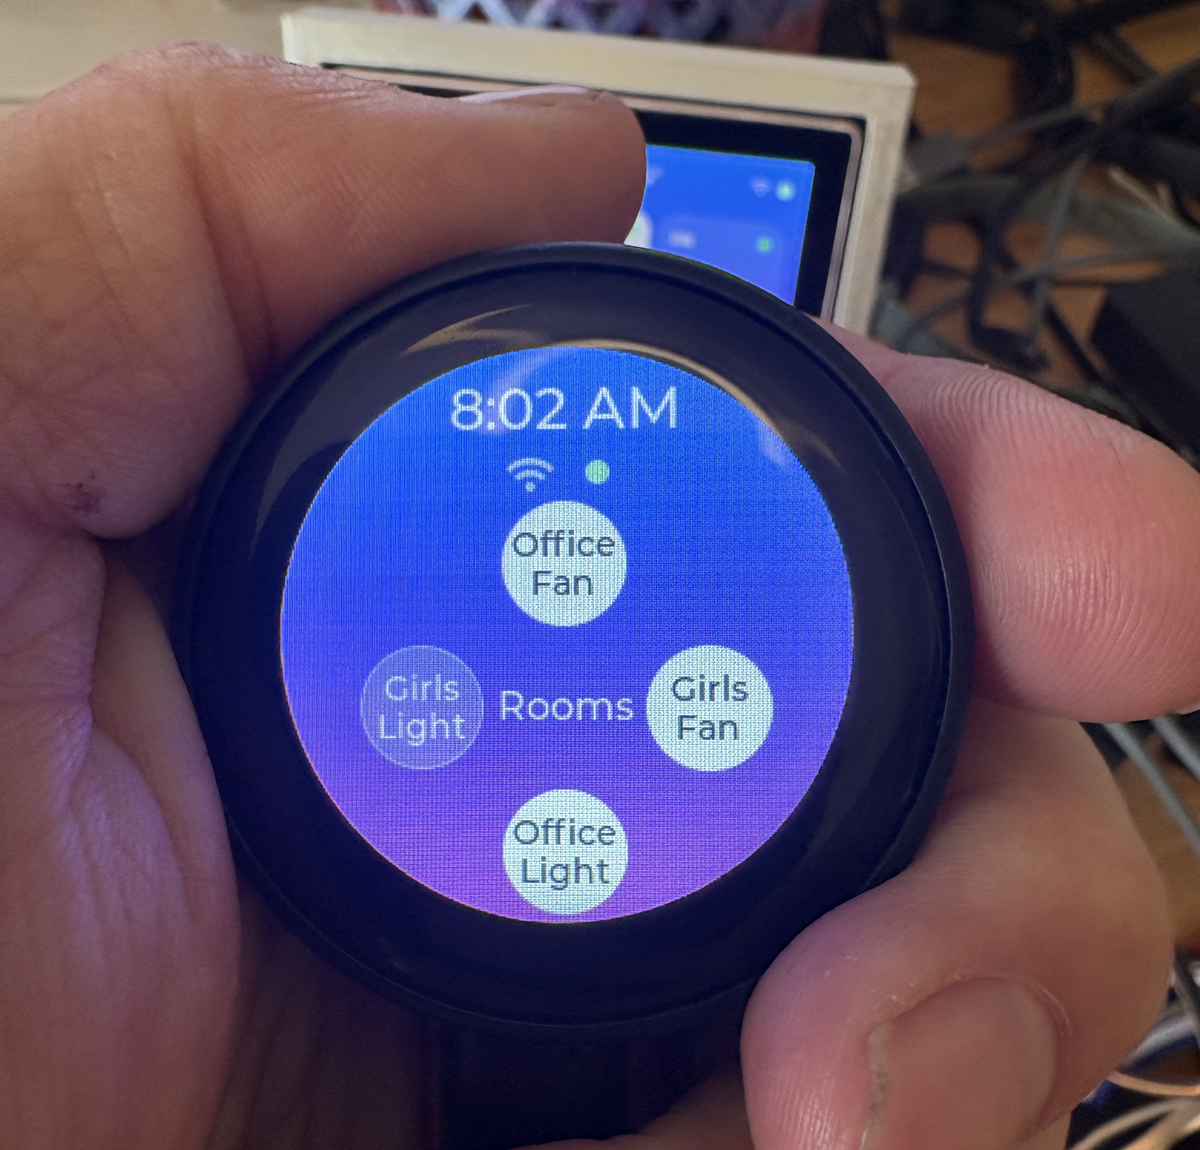
I saw another inexpensive ESP32 device on Aliexpress and decided to see if it would work well as a smart home controller like Tessera.
The ESP32 display has wifi and Bluetooth, is about 1 3/4 inches in diameter, and has a roughly 240×240 screen.
The code conversion was fairly simple, mainly focused on the display and putting in swipe functionality. Claude did the heavy lifting.
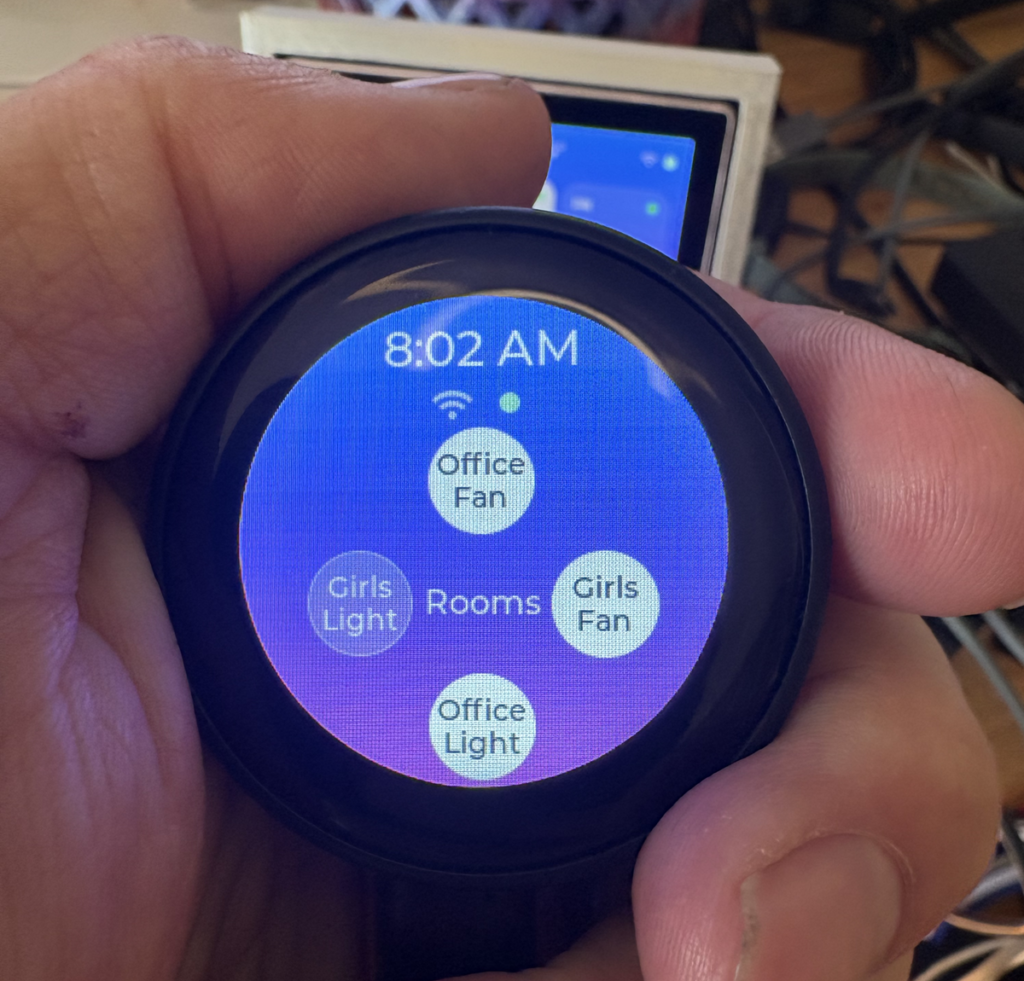
Didn’t turn out as useful as the square panel Tessera I built previously.
The round form factor made designing a stand for it more difficult. When I did get something to work, it just didn’t have a good tactile feel and felt like a chore to use. Also, getting a stand design that allowed me to plug in and route a USB-C cable for power was a bit of a headache.
I made a short video about the controller.
Not every project is an amazing success. Some are just trying something new.
All the code is here: https://github.com/cruftbox/orbis
How to make pork belly burnt ends
Built my own smart home panel – Tessera
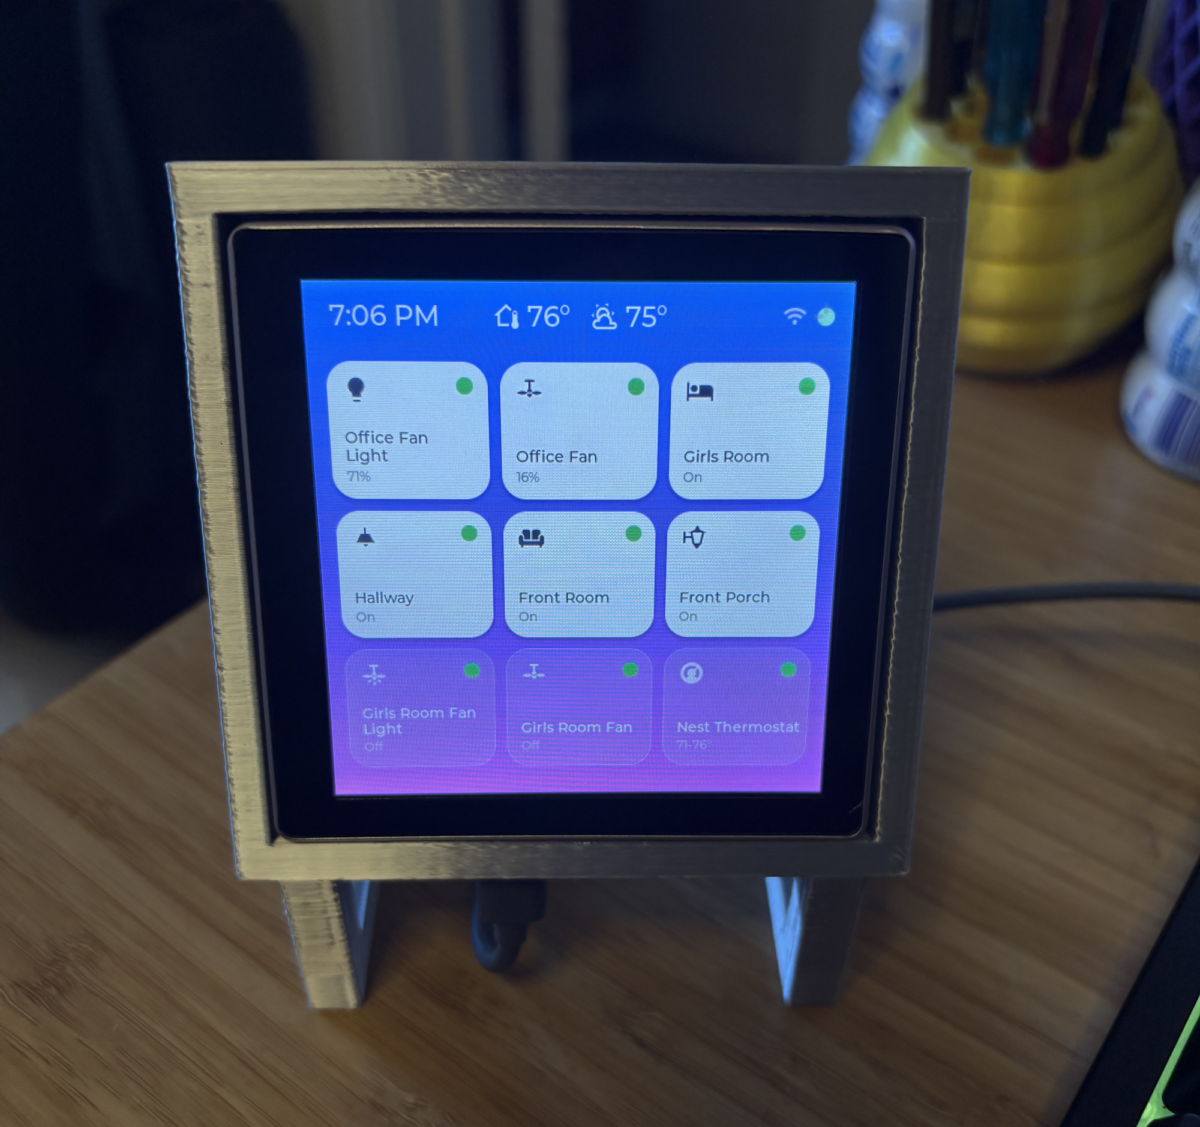
Some of my projects end in disappointment, but this one is a nice success.
I was scrolling AliExpress, as one does, when I came across a little 4-inch touchscreen with an ESP32 built right into the back of it, a Guition ESP32-S3-4848S040. A 480×480 color display, capacitive touch, WiFi, the works, for under 15 bucks, though the pricing is dynamic and shifts each visit. So cheap.
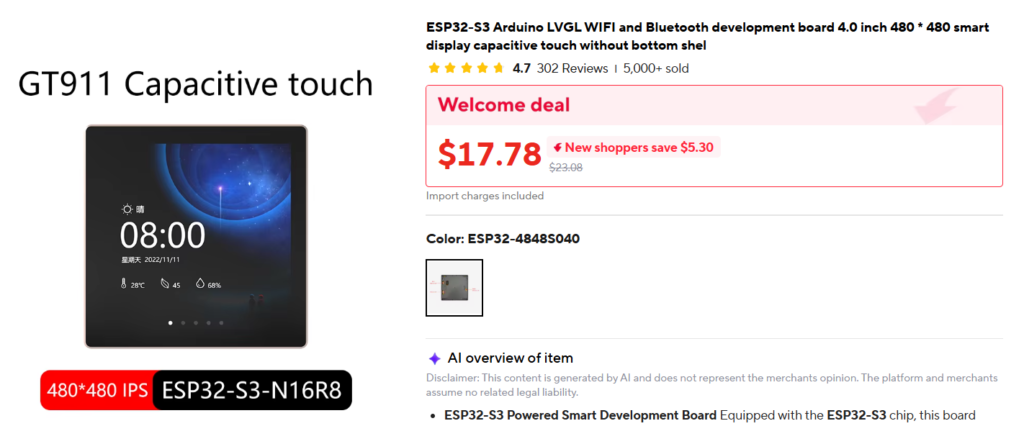
I wondered if I could turn it into a Home Assistant control panel. A quick conversation with Claude confirmed it was feasible, so into the cart it went.
I worked up a project plan with Claude and waited for its arrival. I named it Tessera, Latin for tiles, because I envisioned the interface as a mosaic of control tiles.
It took about two weeks from online order to the working panel on my desk.
And a video of the panel in action:
When the panel arrived, the first job was flashing the hardware and getting any kinks out of that process. My desktop recognized it easily over USB. It ships with some demo firmware, but I didn’t need it at all (I backed up the original binary just in case, I’m no newb).
Claude helped break the project into manageable chunks: hardware setup, the display stack, Home Assistant integration, UI design, configuration, and testing. Working incrementally made the project surprisingly painless.
The biggest humps to get over were the initial flash, getting the screen refresh rate optimized, and calibrating the touchscreen. After that, it was a cakewalk.
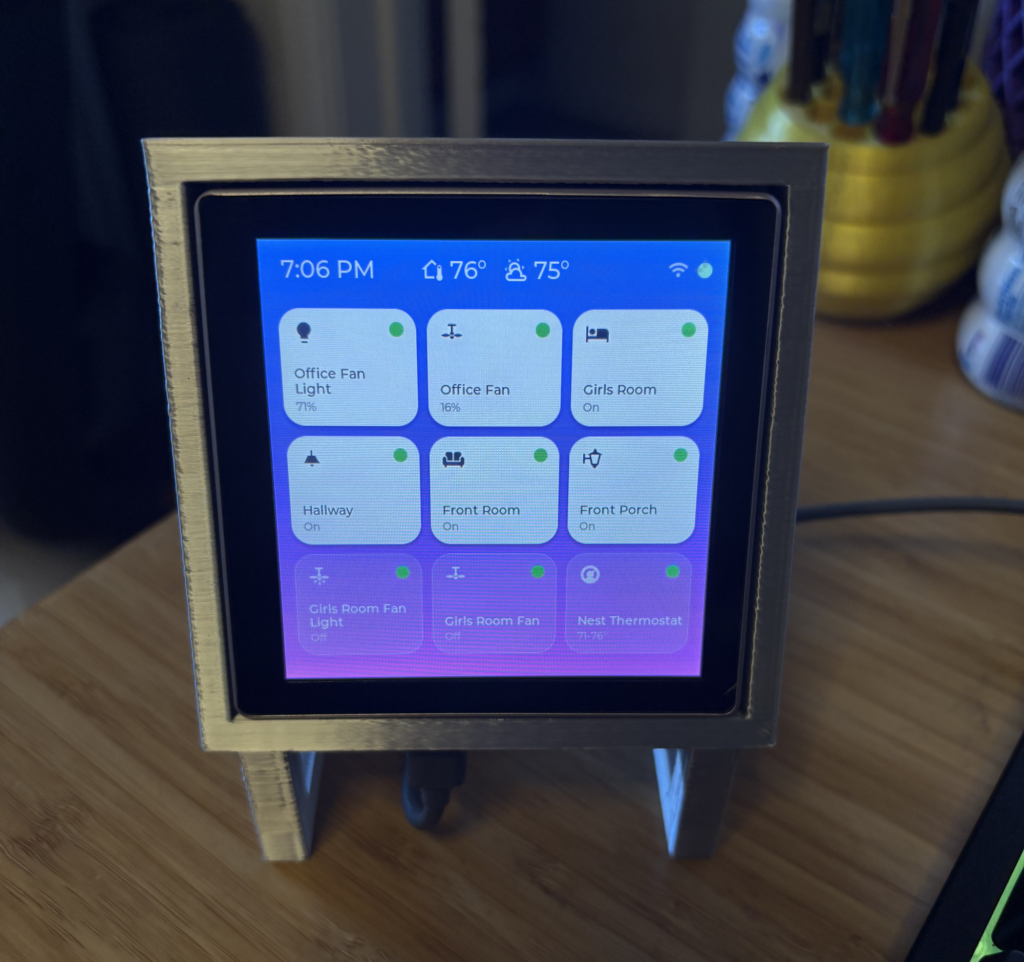
I used Claude’s new Design feature to generate a prompt for Claude Code, which then iterated on the interface until it matched the look I wanted. The 3×3 grid seems to work well for my old eyes. I gave it a soft gradient-and-frosted-glass look similar to the current look of UIs these days.
Adding devices was simple once the panel could interface with Home Assistant. I proceeded slowly, adding one device at a time. After each reflash, the new device would be there on the grid, already knowing how to display its state and toggle itself. The Nest thermostat integration took a bit to get the UI and behavior the way I wanted it, but now it works great.
Some of my subtle preferences crept in: fans that start on low instead of roaring to full speed, lights that come on at a warm 3000K, the actual indoor and outdoor temperatures tucked into the header.
The panel runs off of USB-C power and connects via wifi, so you can put one pretty much anywhere. I wanted it to be upright on my desk, so I designed a little 3D-printed stand for it. The model’s on Thingiverse if you’d like one of your own.
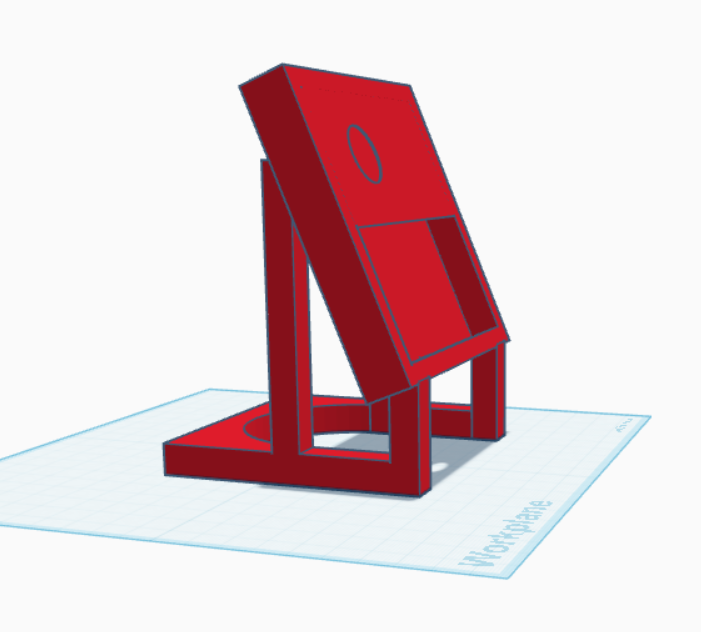
The whole thing is open source. If you’ve got Home Assistant and decide to get one for yourself, the firmware, the config, and the stand are all up on GitHub. I suggest using an LLM to do the device assignment and flashing. Much easier than doing it by hand.
The main drawback is that you need to run Home Assistant to use this. Amazon Alexa, Google Home, and Apple HomeKit won’t allow the panel into their precious ecosystems.
Code: github.com/cruftbox/tessera – Stand: Thingiverse
Tips for new beekeepers – lighting a smoker
Using a propane torch to light a smoker.